Using the AtomicServer GUI
After running the server, open it in your browser.
By default, that’s at http://localhost:9883.
Fun fact:
⚛is HTML entity code for the Atom icon: ⚛
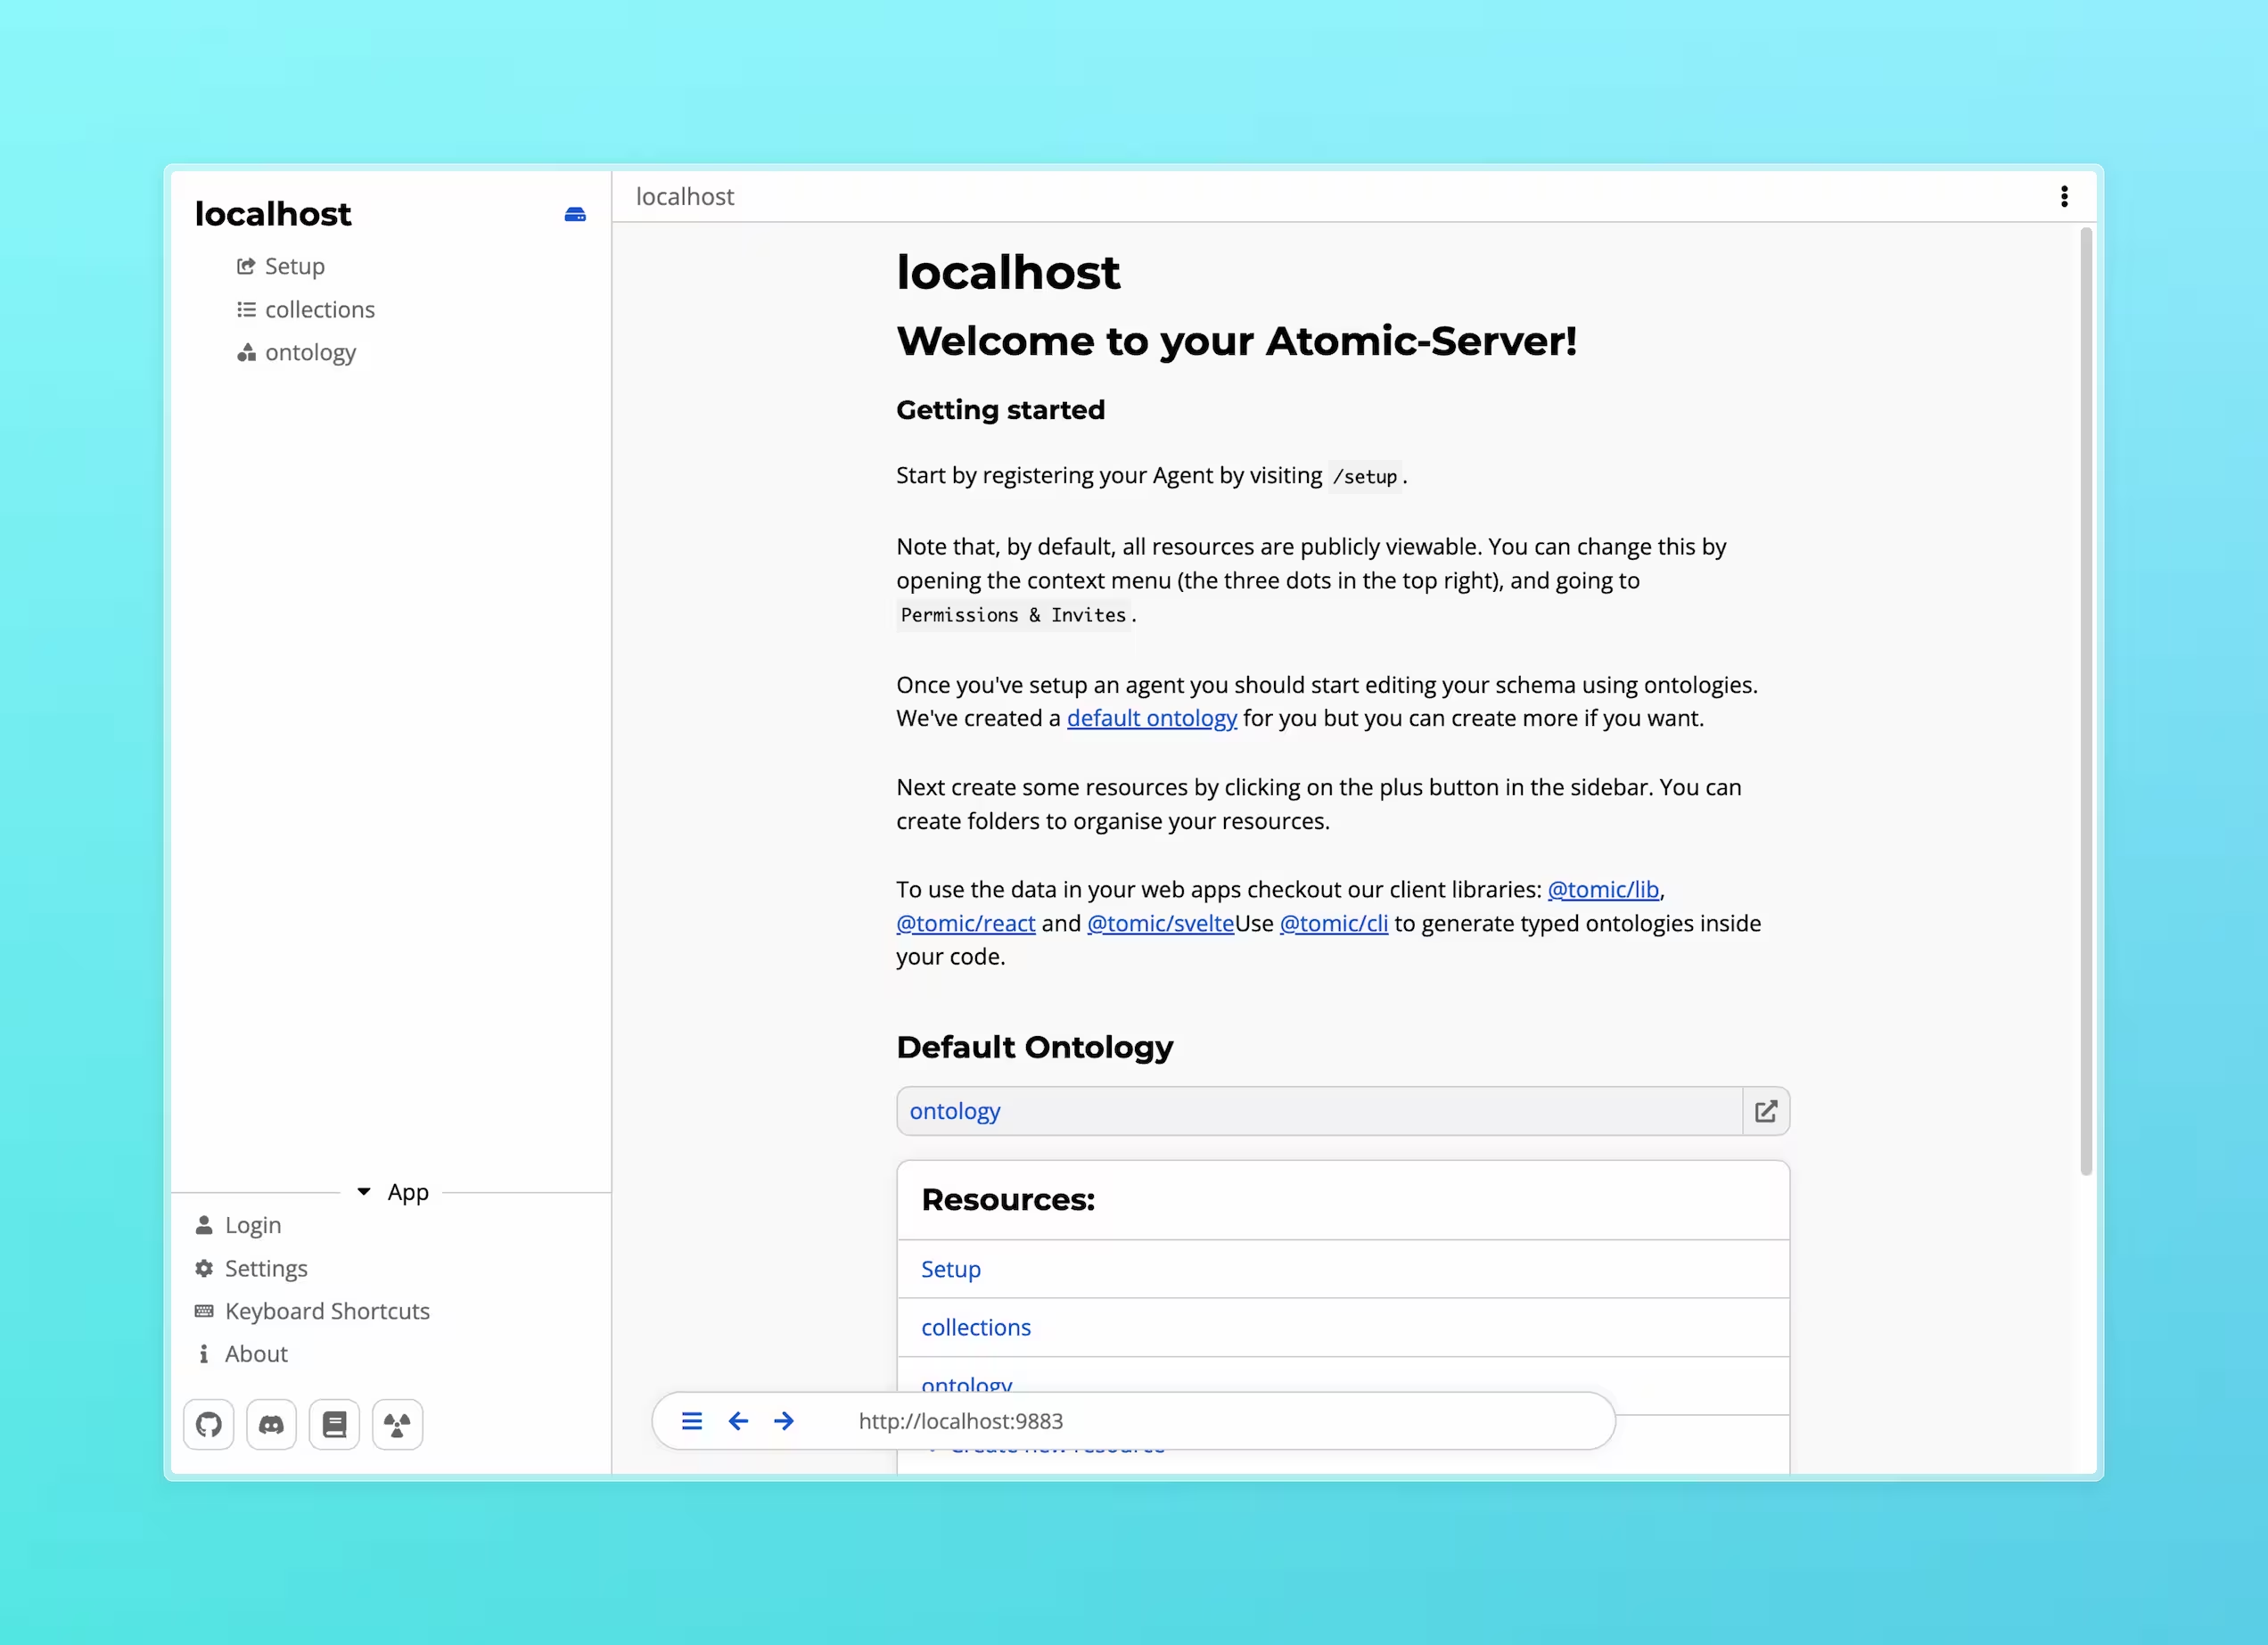
The first screen should show you your main Drive. You can think of this as the root of the server. It is the resource hosted at the root URL, effectively being the home page of your server.
In the sidebar you will see a list of resources in the current drive. At the start these will be:
- The setup invite that’s used to configure the root agent.
- A resource named
collections. This is a group of collections that shows collections for all classes in the server, essentially a list of all resources. - The default ontology. Ontologies are used to define new classes and properties and show to relation between them.
Creating an agent
To create data in AtomicServer you’ll need an agent.
An agent is like a user account, it signs the changes (commits) you make to data so that others can verify that you made them.
Agents are identified by a DID derived from their public key (did:ad:{publicKey}), so they can be used on any AtomicServer without needing to be registered first.
To get started, you can use the demo invite on atomicdata.dev, or the /setup invite on your own server.
Click the “Accept as new user” button. The app will generate a key pair and your Agent will be created. Navigate to the User Settings page to find your agent secret. This secret is what you use to login, so keep it somewhere safe, like in a password manager. If you lose it you won’t be able to recover your account.
Setting up the root Agent
Next, we’ll set up the root Agent that has write access to the Drive.
If you’ve already accepted the /setup invite, you can skip this step.
Head to the setup page by selecting it in the sidebar.
You’ll see a button that either says Accept as <Your agent> or Accept as new user.
If it says “as new user”, click on login, paste your secret in the input field and return to the invite page.
After clicking the accept button you’ll be redirected to the home page and you will have write access to the Drive.
You can verify this by hovering over the description field, clicking the edit icon, and making a few changes.
You can also press the menu button (three dots, top left) and press Data view to see your agent after the write field.
Note that you can now edit every field.
The /setup invite can only be used once and will therefore not work anymore.
If you want to re-enable the invite to change the root agent you can start AtomicServer with the --initialize flag.
Creating your first Atomic Data
Now that everything is up and running you can start creating some resources. To create a new resource, click the + button in the sidebar. You will be presented with a list of resource types to choose from like Tables, Folders, Documents etc. You can also create your own types by using ontologies.