Setting up the frontend
Let’s start with setting up Astro.
NOTE:
I will use npm since that is the standard but you can of course use other package managers like pnpm.
To create an Astro project open your terminal in the folder you’d like to house the projects folder and run the following command:
npm create astro@latest
You will be presented by a wizard, here you can choose the folder you want to create and set up stuff like typescript.
We will choose the following options:
- “Where should we create your new project?”:
./astro-guide(feel free to change this to anything you like) - “How would you like to start your new project?”: Choose
Empty - “Install dependencies?”:
Yes - “Do you plan to write TypeScript?”:
Yes>Strict - “Initialize a new git repository?” Choose whatever you want here
Open the newly created folder in your favourite editor and navigate to the folder in your terminal.
Check to see if everything went smoothly by testing out if it works. Run npm run dev and navigate to the address shown in the output (http://localhost:4321/)
You should see a boring page that looks like this:
About Astro
If you’ve never used Astro before here is a short primer:
Pages in Astro are placed in the pages folder and use the .astro format.
Files that end with .astro are Astro components and are always rendered on the server or at build time (But never on the client)
Routing is achieved via the filesystem so for example the file pages/blog/how-to-sharpen-a-pencil.astro is accessible via https://mysite.com/blog/how-to-sharpen-a-pencil.
To share layouts like headers and footers between pages we use Layout components, these are placed in the layouts folder. Let’s create a layout right now.
Layout
In src create a folder called layouts and in there a file called Layout.astro.
<!-- src/layouts/Layout.astro -->
<!DOCTYPE html>
<html lang="en">
<head>
<meta charset="UTF-8" />
<meta name="description" content="Astro description" />
<meta name="viewport" content="width=device-width" />
<link rel="icon" type="image/svg+xml" href="/favicon.svg" />
<meta name="generator" content="{Astro.generator}" />
<title>Some title</title>
</head>
<body>
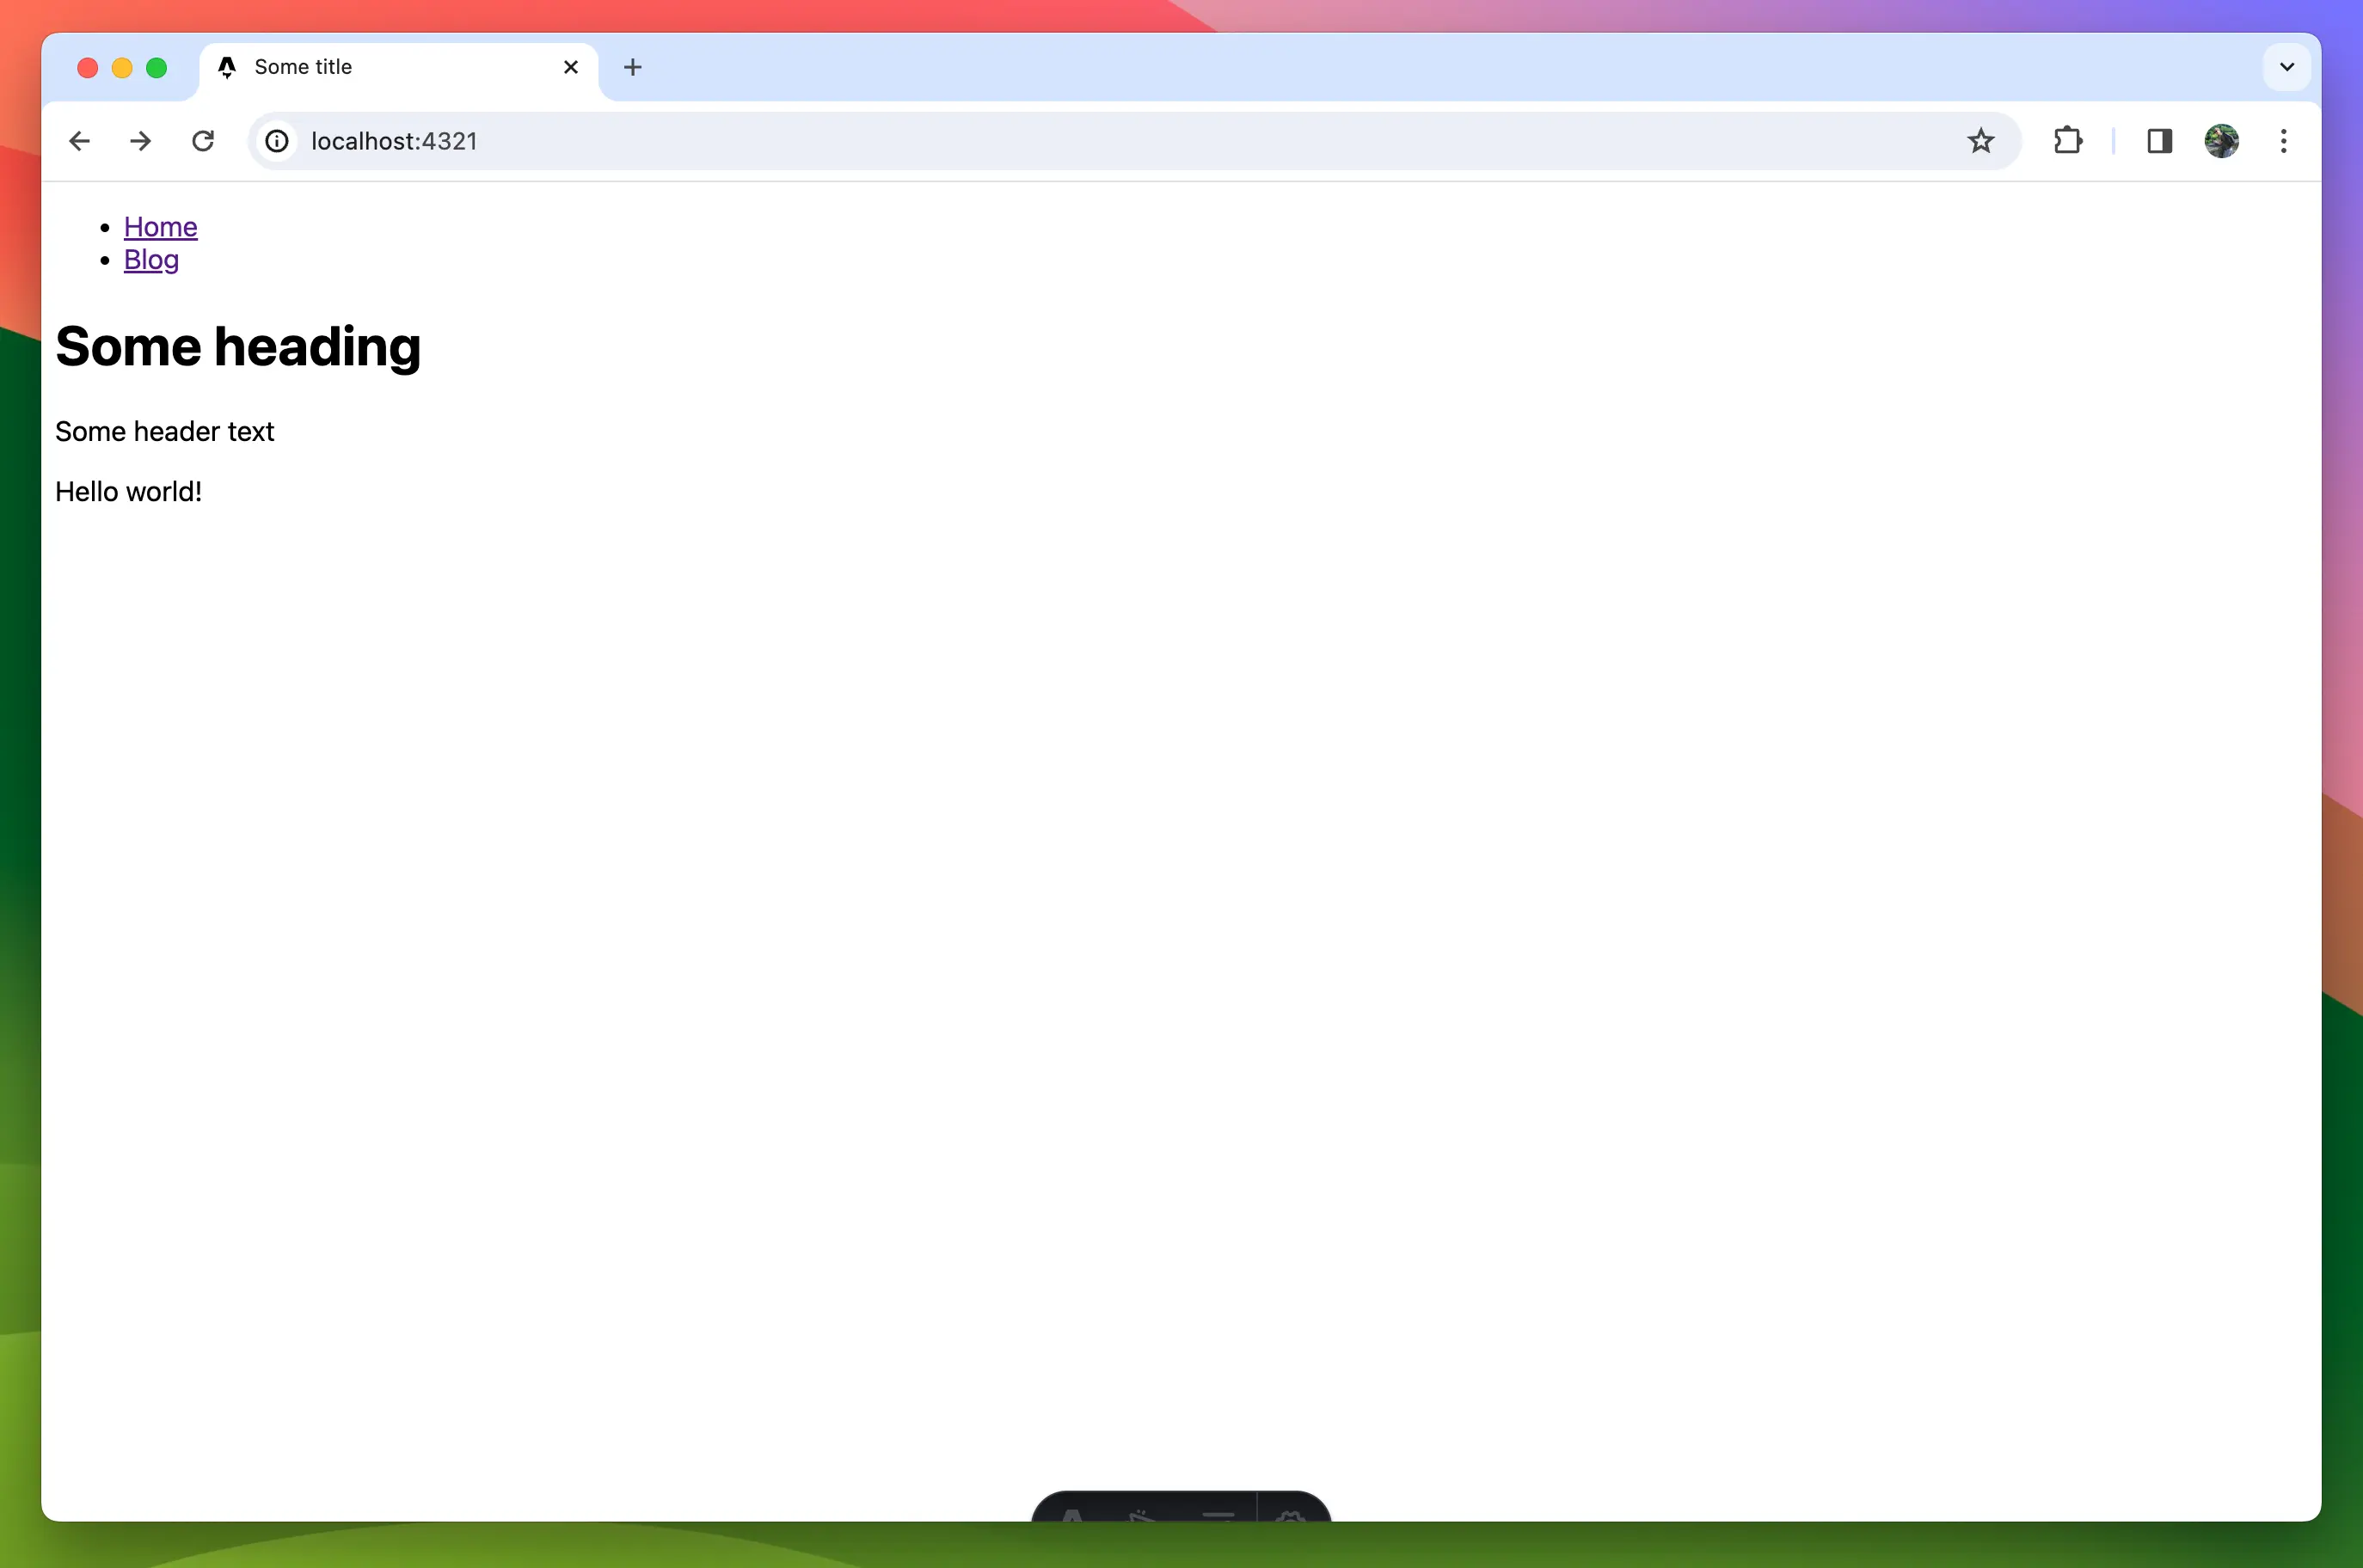
<header>
<nav>
<ul>
<li>
<a href="/">Home</a>
</li>
<li>
<a href="/blog">Blog</a>
</li>
</ul>
</nav>
<h1>Some heading</h1>
<p>Some header text</p>
</header>
<slot />
</body>
</html>
<style is:global>
body {
font-family: system-ui;
}
</style>
This bit of html will be wrapped around the page which will be rendered in the slot element.
Next update the src/pages/index.astro file to this
---
// src/pages/index.astro
import Layout from '../layouts/Layout.astro';
---

<Layout>
	<p>Hello world!</p>
</Layout>
Our page should now look like this:
Time to take a break from Astro and create our data model in the Atomic Data Browser.